11 December, 2011

Baked Chicken with Arroz Sucio.

Lunch time! I've been actually very for the past couple of days with the cleaning of my house and trying to find sometime to breathe but hadn't much to eat except for bits of jerky and a sandwich or two here and there. Luckily, I managed to conjure up another quick recipe which I just had for lunch today which I think you're going to love. The rice I named as arroz sucio (even though translated means dirty rice) isn't normal dirty rice, but came out to be a very delicious mutation. It was purely experimental but turned out to be very delicious.

Ingredients:
[For the arroz sucio]
1.) ~1.5 cups of white rice (I used jasmine since that's the only thing I have in my Asian house)
2.) ~3/4 cup of black beans (I used canned)
3.) ~1/2 to 3/4 of a white onion (I had a very small onion so it was about 3/4ths of a normal onion)
4.) 1 clove of garlic
5.) ~3/4 tbsp of oregano
6.) ~1/2 tbsp of salt
7.) 1 chicken bouillon cube
8.) ~1/2 of a tomate
9.) ~1 cup of chicken stock

[For baked chicken]
1.) chicken drumsticks (I used three)
2.) salt and pepper to taste
3.) ~1/2 tbsp of cayenne pepper
4.) ~1/2 tbsp of paprika
5.) ~3/4 tbsp of dried crushed basil
6.) ~3/4 tbsp of oregano
7.) ~1 tbsp of oil

Directions!
1.) [Baked chicken] Preheat oven to 450 degrees Fahrenheit and place drumsticks on a baking pan covered in foil. Coat with salt, pepper, cayenne pepper, paprika, basil and oregano. Ensure that the most of the drumstick is coated.
Coat chicken evenly and drizzle with oil. (Oil has not been drizzled in this picture)
2.) Drizzle oil on the chicken (turn and drizzle again) and bake. Bake for 7 minutes and turn them. Bake for another 7 and turn. Turn off oven and leave the chicken inside for about 5 minutes.
Fresh from the oven baked chicken.
3.) [Arroz sucio] Wash the rice and place in a pot (ideally a dutch oven, but unfortunately I didn't have one and used a regular pot).
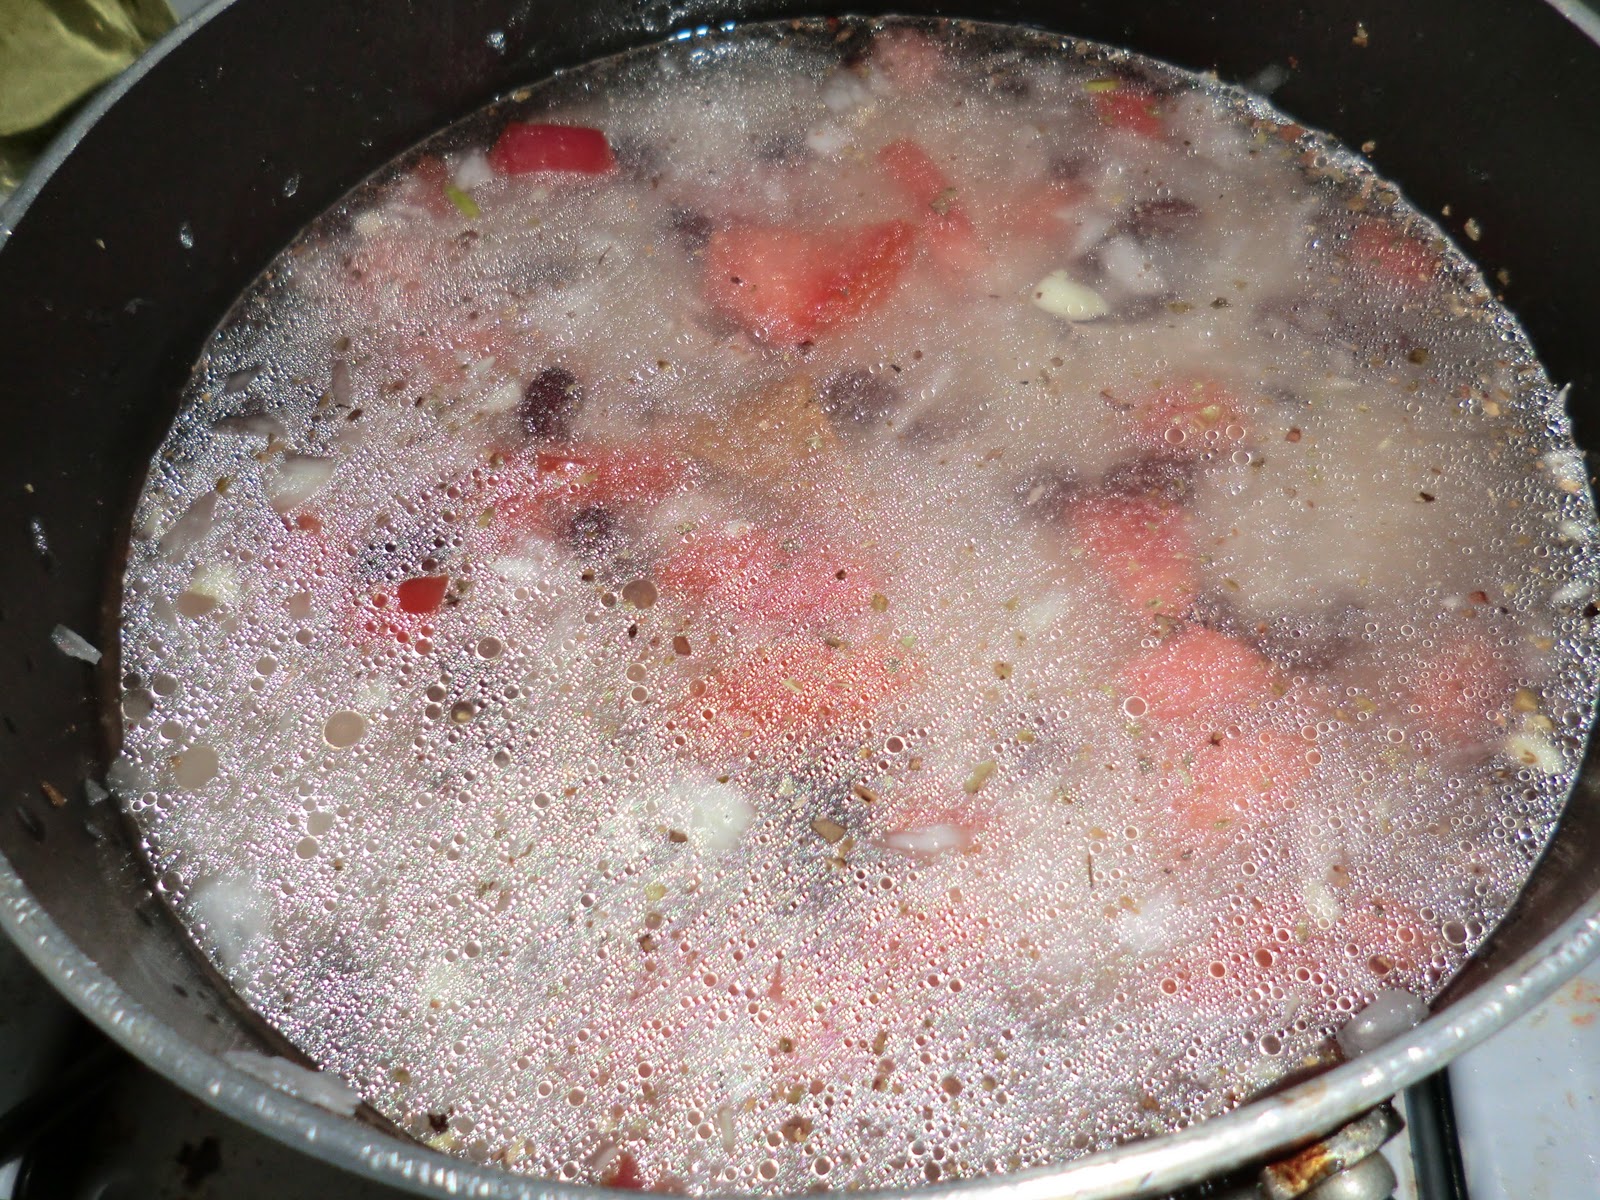
4.) Dice tomatoes and place in pot. In a food processor (to save you from tears) throw in 1 clove of garlic with the onion and give a rough chop. Mix in with raw rice and tomato. Drain black beans from can and place in pot. Stir the ingredients in the pot to give an even distribution.
Add beans, diced tomatoes, garlic, and onion.
5.) Add about 1 cup of chicken stock (I used the left over chicken stock I had from the tamales) with the bouillon cube. Add oregano, salt, and water. Stir the ingredients.
I added some left over chicken stock I had with a bouillon cube.
6.) Leave the pot on for high heat until most of the water evaporates. One evaporated, keep stirring (ensuring to scrape the bottom) until rice becomes fully soft. You can constantly taste test to see if rice is fully cooked. Remove from heat and serve with the baked chicken.
Final produce of the arroz sucio (please ignore the dirty stove top)
Serve chicken with arroz sucio. Perfect combination!
Afterthoughts: This was a very filling and delicious lunch. However, the rice came out a clumped together. It was a little bit looser, it might have been nicer, but the rice overall was really good. Especially the rice that got stuck to the bottom and became toasted. I had created the rice based on my memories of Spanish rice and Congri (Cuban rice with beans). The chicken was nice and moist even after I left it sitting for a bit.

09 December, 2011

Roasted Ribs with Tangerine Sauce.

I just had a late dinner after running some errands and decided to do something quick and creative so I dug through the mess of my freezer and found a rack of ribs I bought the other day. After about an hour or prep and cook, dinner was pleasant. This dish is a quick one with little to no effort at all.

Ingredients:
1.) Pork ribs. I used only four ribs this time since it was a just going to be me for dinner (I'm all alone!) tonight so  use as much as you please.
2.) ~1.5 tsp of cayenne pepper
3.) ~1.5 tsp of paprika
4.) salt and pepper to taste
5.) 1 tangerine
6.) 1/2 tbsp of corn starch or tapioca starch (which I used since I didn't have any corn starch).
7.) 1.25 tbsps of white vinegar
8.) 2.5 tbsps of honey
9.) pinch of salt
10.) 2 tablespoons of cold water.
11.) 1/2 tbsp of oil

Directions:
1.) Take the rack of ribs and peel away the film on the bottom. Not entirely sure what that film is, but it is something I know you don't want to eat. Preheat oven to 400 degrees Fahrenheit. Sprinkle a coat of salt, pepper, paprika, and cayenne pepper. Zigzag a light coat of oil (I used canola but olive oil works too) and repeat on on the other side with spices and oil. Place on baking pan covered in foil (for easy clean up). In the oven it goes and bake for 5-7 minutes and turn and bake for another 5-7 minutes.
Sprinkle a light cover on the ribs and bake for 5-7 minutes on each side.
2.) [Tangerine sauce] Cut half a tangerine and juice. Pour 2 and half tablespoons of honey in with the juice. Zest 1 tsp or two of the tangerine and mix in. Add vinegar. Give the mixture a taste. If too sweet, add a little more vinegar. Place in pot and bring to boil. While boiling, sift some starch in the sauce to thicken. Add a small pinch of salt. Remove from heat and place in sauce dish. Let the sauce cool and add 2 tablespoons of cold water to dilute the sauce a bit.
Using about half a tangerine with some vinegar and honey, this sauce came out very delicious. 
 3.) Remove ribs form the oven after 14 minutes or so and cut. Serve sauce either on the side or over the ribs. Enjoy!
Fresh out of the oven roasted ribs. :D

Slice up ribs and serve with tangerine sauce. This is a close up of the final product.  The ribs were very moist and tender.
Serve with the sauce on the side or on top, but either way, it was a quick and delicious meal .  Please ignore the messy counter top. :]
Afterthoughts: I actually added a little ginger to sauce because I had a sore throat (due to the oncoming of winter) and it cleared it right up. The only problem was I added a little bit too much ginger and gave myself a good kick in the head. But, the sauce before I added the ginger was pretty good, just a bit heavy. I still liked it overall as it gave me a good, fast meal.

Costs:
1 rack of ribs = $9.25 so about $2.00 was used.
1 tangerine = $0.20
Spices, flour, honey =~$0.30
Total Cost: ~$2.50 for entire meal

Chinita Pollo Rojo Tamales.

I am a big fan of tamales. Big big fan. But never made any till recently. Generally, winter time is tamale season where people make copious amounts of tamales for meals, treats, etc. so I decided to make them too! This particular recipe is for the second time I've ever made tamales. The first time tamales were pretty good but I had formed them at the wrong end so they were a bit of a small meal than usual :[. But never fear! Another try is here! With a little experience and advice from Mexican parents, I formulated this recipe with homemade ingredients. :]

Ingredients:
1.) 1 packet of hojas de maiz (corn husks). Has on average 60-70 husks in the packet.
2.) 1 onion
3.) 3 cloves of garlic
4.) salt and pepper to taste
5.) 3-4 chicken breasts (I used 4 for this recipe and had a good amount of left over chicken)
6.) ~2 cups of manteca (lard)
7.) 9-10 chili pods. In this recipe, I used California chili pods which aren't spicy at all (I don't like spicy). But, if using something spicier or depending on personal taste, use as much as you please.
8.) 2 tablespoons of Sriracha hot sauce. (That's right, I fused in Asian)
9.) 1 tbsp of cayenne pepper
10.) 1tbsp of paprika
11.) Masa harina (masa flour)
12.) 3 large tomatoes

Directions!
1.) [Making the stuffing] Take the chicken breasts and place it in a pot with salt and pepper. Add the cloves of garlic, the onion (halved), and a quart of water. Bring to a boil and let it simmer for ~15 minutes at low heat.
Halved onion, 3 cloves of garlic, salt and pepper
Bring to a boil and simmer. 
2.) In the mean time, take the chili pods and remove the stems (for spicier chilies, best to use some gloves and to remove seeds). Place chili pods in another pot with about a quart of water. Bring to boil for five minutes and turn off heat to cool.
These are California chili pods--not spicy at all. 
3.) Dice up the three tomatoes and place in a food processor. Remove chilies from the pot and add in food processor. Puree as much as fine as possible. Add cayenne pepper, paprika, sriracha, salt, and pepper. Mix together.
Once boiled, the chili pods should become softer. Best to give a rough chop of the chilies before the processor.

Here are the diced tomatoes and boiled chili pods in my mini processor
4.) Remove the chicken breasts from the pot and shred the breasts. (Tip: best to let chicken breasts sit in an open and cool area for a few minutes before shredding. This prevents the heat from burning your fingers.) Throw away the onion and garlic chunks and store stock from the breasts for later use. (Tip: to keep the chicken from drying out while shredding, leave a small pool of stock on the bottom of the pot so while you shred, the shredded pieces would be sitting in liquid). Place shredded breasts back into the same pot and add chili sauce made from step 3. Generally, people would use only half and leave half as a topping sauce but I blend it in with the left over chicken so it can act as a hearty topping. Turn on heat, stir, and close lid. Let the shred chicken boil in sauce. This infuses flavor and keeps moisture in the chicken pieces. Taste and add whatever other spices as you please.
It's a very tedious task to shred chicken, but if I can do it, you definitely can :D
Mix shredded chicken with sauce and bring to a boil. This smelled awesome!  Confession: I ate a spoon or two while doing this :]
5.) Grab about half the packet of hojas and soak in a large bowl with hot water (hot as possible from faucet; not boiling). Place some plate or cups to force the hojas down. Otherwise, they will float up and remain dry.
It's fairly difficult to keep them submerged. Best to have them in water as much as possible as they tend to dry out quickly.
6.) [Creating the masa] Take about 2 cups of manteca into a mixing bowl. Beat the manteca until fluffy. At this point, the amount of masa flour used is ambiguous as it should be added as needed. Begin added half a cup to a cup of flour of masa to the fluffy manteca. Keep mixing and adding until the masa forms a clump. I measure the consistency of the clump by seeing how much of the mixture is still sticking to the bottom of the bowl. If the mixture is barely sticking to the bottom, then you're ready to go.
I fluffed the manteca with a hand mixer.
This is when I began adding the masa flour. It will start out creamy, but you want it to start clumping.
This is the consistency you want. I generally check how it's sticking to the bottom of the bowl. 
 7.) Using the stock created from the chicken breasts, add a cup at a time to the clump while mixing. Keep adding and mixing the masa until the masa becomes creamy such as thick chunky peanut butter. The masa should be fairly easy to spread and easy to handle with a spatula but not runny. If runny, then too much stock is added and can be balanced out with the addition of masa flour.
Start adding chicken stock at this point. Here the masa is not really sticking to the bowl indicated by the clear bottom.
Keep mixing and pushing the sides in together until it becomes chunky. You should be able to spread it around with a spatula but not have it stick so much. 
Here's a close up of the masa consistency. Look at the bowl and see how clean the masa is coming off.
8.) [Forming the tamale] Create a tamale making station (since you're not going to be making five tamales, you're going to be making about 50 or so--best to have extra hands) and grab one hoja that has been soaked.  On the end of the hoja, rip away a fairly thick strip to tie the tamale with.
Pull strips from the hoja to tie with.
9.) With the narrow point of the hoja pointing up, take some masa and spread in the middle of the hoja towards the opposite end, making a rectangle or so.
Spread a rectangle with about a 1/4 to 1/2 of inch of masa starting from the top. The thicker the spread, the longer it takes to steam.
10.) Add a spoon or two of stuffing (shredded chicken with chili sauce) in a line down the middle of the rectangle.
I scooped a bit much. But, a hearty tamale is never a bad thing.
11.) Fold the sheet horizontally (left to right or right to left) taking one side and tucking into the other, creating a closed cover of the masa. With the narrow end of the hoja, fold up to create a seal on the tamale. Tie with the ripped strip. And vĂ³ila! You have formed your tamale.
Start folding and begin to roll to seal the tamale.
Fold sheet horizontal and then fold the extra space of the hoja without stuffing back the other way; creating a cone.  
Fold the narrow part up and tie with the strip.
12.) Lucky for me, I have a mini stackable steamer that helped cook these tamales fast and easy, but for those who don't have a steamer, a good ol' soup pot works also. Place a rack or colander on the bottom to prevent the tamales from being submerged. Add some water on the bottom to steam the tamales but not enough to touch the tamales. Stack the tamales in with trying to keep the open end up. If there are some awkward gaps within the pot, balled up foil works as a support to stop the tamales from falling while inside.
Ensure that there is enough water in the pot all times. Steam the tamales for an hour and serve.
Here's my little steamer :D
Final product. Serve just as or with sauce.  
Great late night study meal.
Afterthoughts: Very hard work to make tamales but is all worth it in the end. And plus, making in bulk makes the hard work worth it. For this particular recipe, I honestly wish I used a little more salt in the masa. But left over chicken and sauce helps the tamale.  The first time I made them, they were very popular with my friends and I wish to make them even better later on. Great for a quick meal also. To reheat, it only takes a quick minute in the microwave and lunch is good to go. I hope you enjoy this recipe!

Costs: (this lists of costs is just estimates since everything was bought in large portions and this was a second batch of tamales I've made from most of the same ingredients)
1 packet of hojas = $3.50
1 tub of manteca = $6.00
1 packet of chilies = $2.25
1 bag of masa harina = $2.50
4 chicken breasts = $4.50
Total Cost: ~$17.75 for about 120 tamales.

06 December, 2011

Black Bean Garlic Riblets.

These riblets are very traditional and home cooked great with steamed white rice. Savory and flavorful, these riblets are (sadly) often forgotten in Chinese restaurants in America. They're not fancy, but very delicious.

Ingredients:
1.) 1-2 lbs of pork ribs cut into smaller pieces across the bone. Generally, you can ask the butcher to cut these rock hard bones for you at the grocery market or wherever you purchase meats.
2.) 3 peeled cloves of garlic
3.) 4 tbsps of black beans (not actually black beans; they are actually fermented soy beans--you can purchase these at any Asian market, but I'm not sure about your local Asian aisle. Some come dry in packets or containers, and some are already grounded in a sauce. Regardless, they have a very unique smell.)
4.) ~1/2 tbsp of sesame oil (spicy or not)
5.) ~1 tbsps of soy sauce
6.) ~1 tbsp of grated ginger (please don't use powdered ginger--does not taste the same as fresh)
7.) ~1 tbsp of canola or veggie oil. No olive oil.
8.) salt and pepper to taste.
9.) ~1 cup of water

Directions!
1.) Place the riblets in a mixing bowl and coat with salt and pepper.
Coat of salt and pepper
2.) Using a food processor (you can even use a knife if you want, but processor are easier), throw in the cloves of garlic, the black beans, and the grated ginger. If using dry beans like I did, (which are technically slightly moist) throw in a tablespoon of canola or veggie oil. This makes it easier to breakdown in the processor and to coat the riblets with.  If using beans with more moisture, then add less oil since you don't want a runny sauce. Break down the ingredients with the processor until all is roughly blended.
Close up of black beans

Resulting mixture. Ideally a rough blend is what you want but enough to break down the cloves of garlic.
3.) Remove the sauce from the processor and mix with the riblets until all is coated. Add sesame oil and mix again. Let the riblets sit for a few minutes to marinate.
Leave to marinate for about ten minutes; the smell is amazing!
4.) Coat the bottom of a rice/slow cooker with a slight bit of oil (to prevent sticking; this also applies to people using a regular wok or pot to cook) and transfer the marinated riblets inside. (For this recipe, I used a rice cooker to cook this dish. This can also work with a slow cooker or regular wok/pot. I prefer the slow/rice cooker since it keeps it very moist and tender.)
5.) Turn the cooker on and leave for about five minutes. Add some soy sauce and water and leave it cooking for 20 more minutes or so. After about 25 to 30 minutes of cooking, taste test a piece to see how moist or chewy it is or if it needs more salt (personal preference). If perfect, remove from cooker and serve. Best served with white rice--enjoy!
Final product! Very yummy.

A close up of the finished riblets
Afterthoughts: Very delicious. Which I had used more garlic and a bit more salt (personal preference since I'm a garlic lover). Also wish I had left it in the cooker a bit longer; it was slightly chewy for me.

Costs:
1 lb of riblets = ~$6.00 (I got mine free ftw!)
1 packet of black beans = $1.20 so about $0.60 worth was used
1 sleeve of garlic = $0.98 with 8 whole garlic and ~9 cloves in each. Cost of 1 clove = ~$0.04. So three is $0.12
Oil, soy sauce, salt, peppe, ginger =~$0.55 (at the most)
Total Cost: ~$7.27 for a serving of four+

Simple Ice Tea.

This ice tea is very easy and simple to make with a slight sweetness. It goes great with any meal and is really really refreshing for any season (and I mean any season--I love drinking it during winter too!). This recipe doesn't cost more than five dollars to make and is all natural (for the most part) :D

Ingredients:
1.) 2-3 tbsps of white sugar.
2.) ~4 ounces of lemon juice (I'm using concentrate since lemons are expensive during winter season)
3.) ~2 tbsps of honey
4.) 2 tbsps of tea leaves of your choice. I used lemon ginseng tea in this recipe.
5.) ~1 gallon of water

Directions!
1.) Throw the sugar and honey in a pot with a gallon of water.  It also helps to throw in a little water first and stir to dissolve the sugar and honey, but whichever works.
2.) Using a colander with a handle and hook (you can use tea balls or bags to help keep tea out) hang over the rim of the pot. Ensure the water is soaking or submerging the leaves.
I used a colander instead for my loose tea.
3.) Bring to boil and take off stove. Leave the leaves in the tea until the tea has cooled off then remove.
4.) Place some lemon juice in a container or jug used to store the tea and funnel the cooled tea inside. Let the tea chill in the fridge until cool and serve.
My apologies for the bad picture, but this is the final product. 

Afterthoughts: The type of tea used for this recipe (as mentioned) was lemon ginseng tea. I bought a mass bulk off amazon for about $11. I honestly recommending using more Asian teas like green tea or chrysanthemum. Chrysanthemum is very delicious by very "pugnant" in taste, so the amount of chrysanthemum  used should be reduced. I advise against using very citrus teas with orange or tangerine (that's personal preference) or teas with cinnamon. I love the particular tea I used and it came out very wonderful. The honey is very subtle and light with a mixture of lemon. Very healthy for the body.

This recipe was very flexible and not set in stone. So feel free to make it as sweet or as lemony as you please.   Enjoy!

Costs:
1 bottle of 16oz lemon concentrate = $1.50 so $0.37 for 4oz used
sugar & honey =~$0.50
tea = $11.00 for a bulk amount. ~$0.20 worth for used
Total Cost: ~$0.77 used for 1 gallon of tea.  

05 December, 2011

Quickie fried wings.

These quick and flavourful wings were easy to make with a very subtle and crunchy taste.  Great for an easy lazy Monday night dinner during an all nighter finals week. (P.S., this was an experimental recipe, so there are many possible flaws!)

Ingredients Used: 
1.) 8 chicken wings
2.) ~1 tbsp of cumin
3.) ~1 tbsp of curry
4.) ~1 tbsp of paprika
5.) ~1 tbsp of cayenne pepper
6.) ~4 cups of all purpose flour
7.) salt and pepper to taste
8.) ~1 tbsp of garlic powder
9.) 2 plastic resealable bags for flour coating 
10.) canola or veggie oil for frying

Directions!
1.) Prepare the wings by separating the forearms from the biceps (I think those are the technical terms) and remove tips (if desired).  Generally, I remove the tips and save them for when I make stock, but do as you please.

2.) Score the pieces with fairly deep cuts. This speeds up cooking and helps the spices make it inside for more flavor.  
Split and score the wings
3.) Place the pieces in a mixing bowl and coat with salt, pepper, and garlic powder. I just dusted a fair coat on the top and mixed, then repeated.  Mix the pieces so all is evenly coated.  
Coat with salt, pepper, and garlic powder

4.) Place about 1.5 cups of all purpose flour in a plastic bag and throw in about a tablespoon of curry power and cumin. Seal the bag and shake the bag around so that the flour and spices are mixed.  I, personally, am a big fan of curry so I tend to add more, but to each his own.  

5.) Open the plastic bag and throw in half the pieces from the bowl.  Seal and shake until all is coated. 
Cayenne and Paprika on the left; curry and cumin on the right

6.) Repeat steps 4 and 5 except with cayenne pepper and paprika with the remaining pieces. (Tip: my boyfriend loves extra crunchy wings so let the wings sit for a bit before frying and give it another shake right before it goes in. )

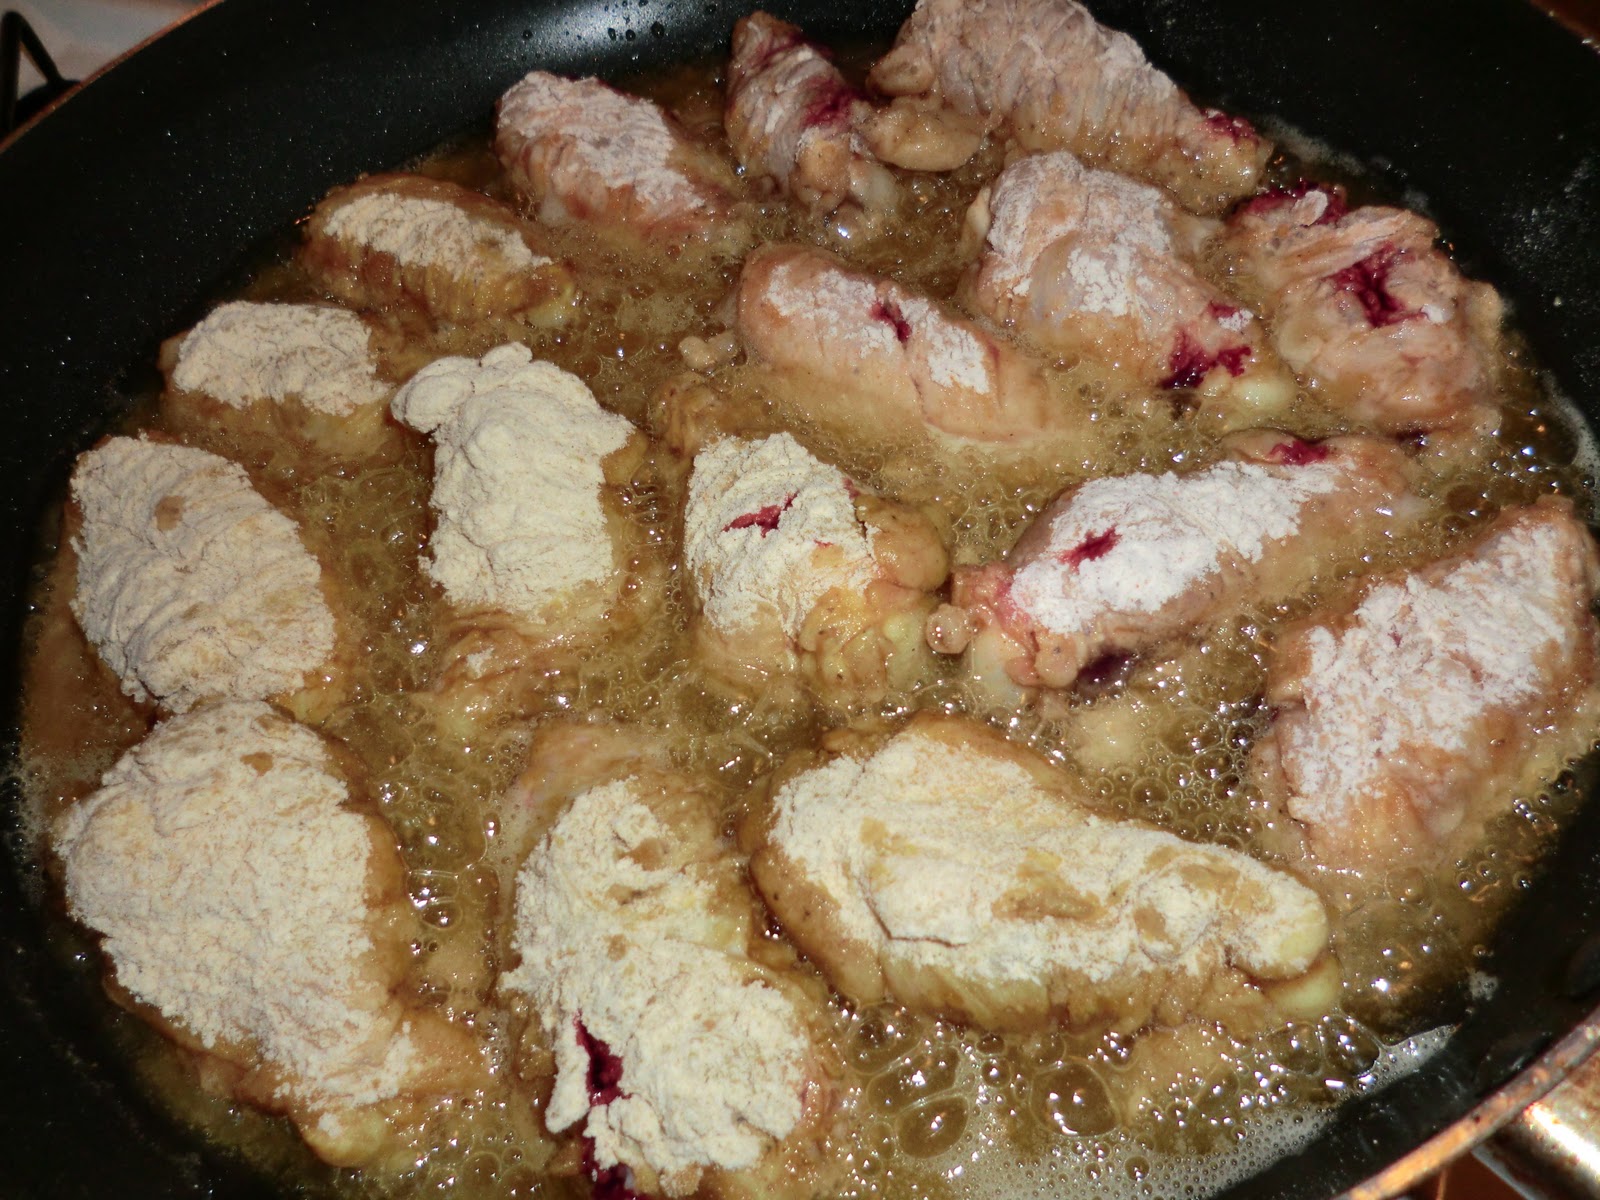
7.) Heat up a skillet (generally cast iron is the best) or frying pan, whichever works for you, and pour in some oil for frying. About an half inch of oil is usually best (regardless of the pan circumference).  Wait for the oil to heat up and slowly place the wings in. I used chopsticks lay them in since I didn't want the tongs I was using to turn them covered in flour (it becomes very messy).  The oil should be covering half way of the pieces.  (Tip: to make sure the oil is hot enough, it's best to slowly hover your palm parallel the oil surface. If you feel heat, then the oil is hot enough. If you feel nothing, then wait a bit and try again. You can also try putting a test piece to see if it is frying.)

[Warning: throwing things in hot oil is never a good idea.  Always best to "lay" them down on the surface of the oil and letting them sink.]
The red stuff is blood from the wings; not my blood

8.) Let the wings fry for about five to seven minutes on each side. I just let them sit and check on the bottom after five minutes or so. If it is golden to brown on the bottom, then it is time to turn them.  
The wings were just turned and they came out golden

9.) Take out the wings and place them either in a colander with a dish under (to catch oil) or in a cooling rack for cookies in a cookie pan with paper towel in between.  Let them sit for a few minutes and serve.
Best method is a cooling rack; it prevents trapping of heat moisture which causes sogginess.
No soggy wings here!
Close up of the finished product.


Afterthoughts: This successfully served three people with extra left over. It was deliciously extra crunchy and tasty. No sauce was served with these wings.  Could have used a little bit more curry (again, I'm a curry lover, I'd probably over do it to others). Overall, yummy. 

Edit: My friend recently make a point on how I should list the costs of the ingredients for the dishes so there will be an added section to old posts and new.

Costs:
1 Pack of 20 whole wings = ~9.00 so 8 wings used = $3.60
oil, salt, pepper, flour = ~$2.00  (at the most)
spices used = ~$0.30
Total Cost: ~$5.90 for a meal of 16 piece wings - served 3 with extra leftover.